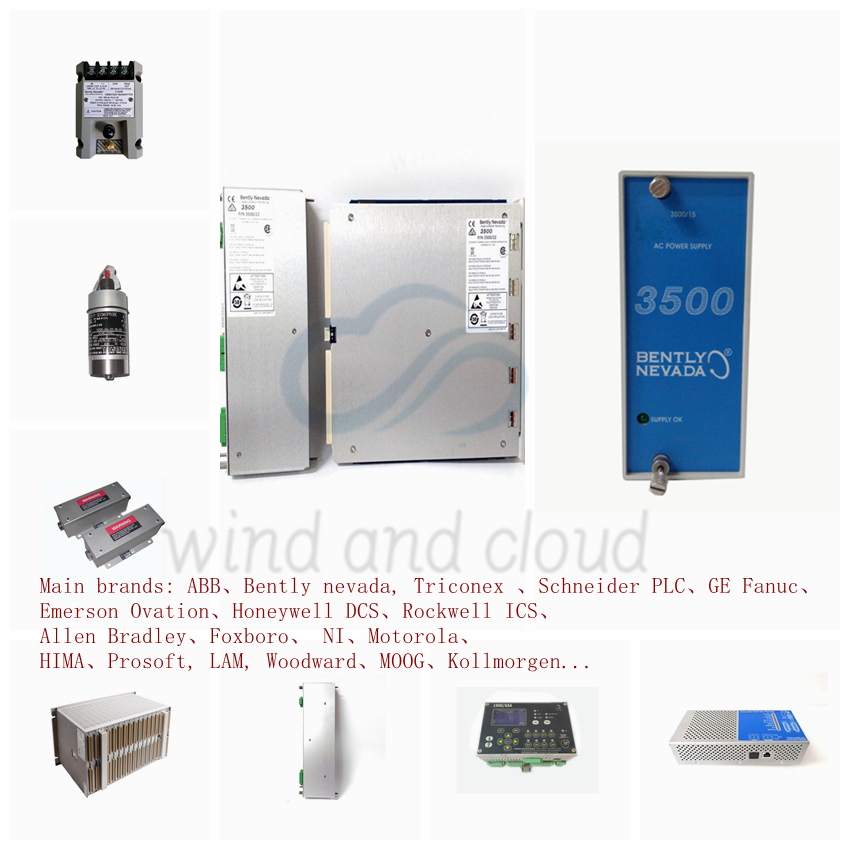
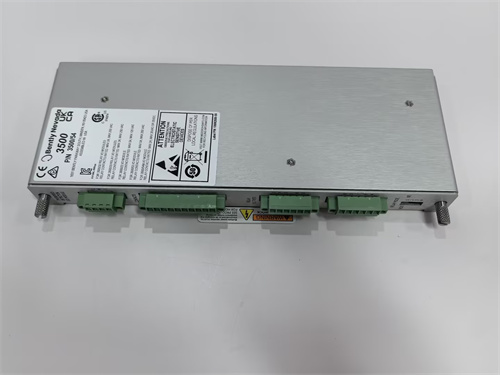
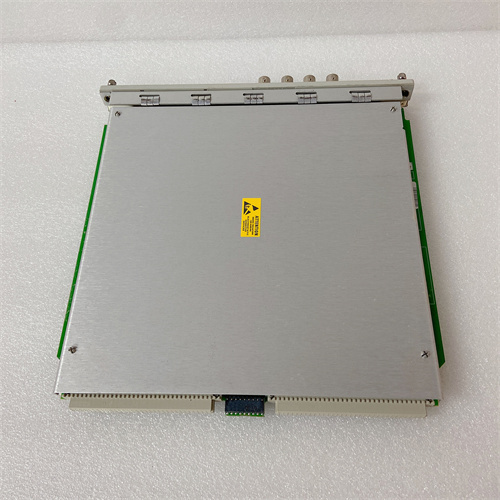
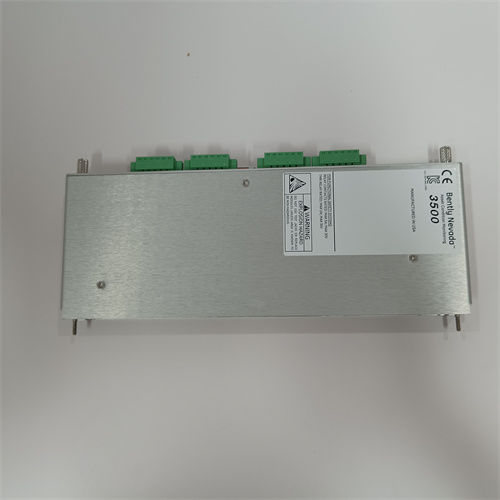
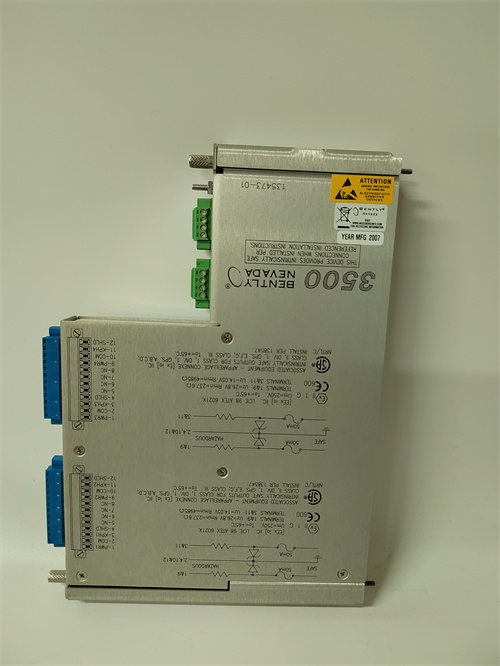
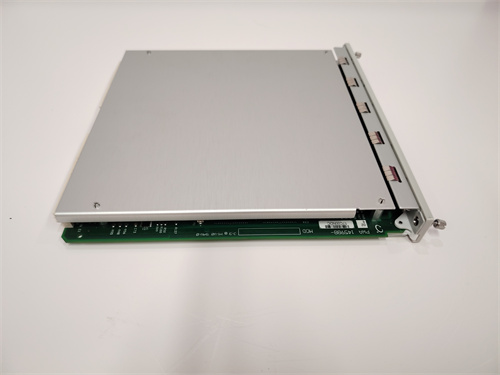
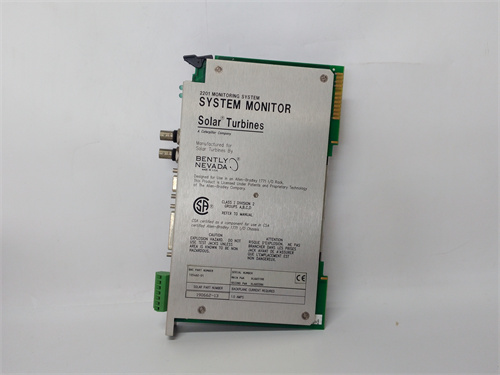
Description Key Technical Specifications Parameter Specification Model Number 135462-01 Probe Diameter 8 mm System Type 3300 XL 8mm Proximitor Cable Length 5.0 meters (integral) Sensitivity 200 mV/mil (7.87 V/mm) typical Linear Range 0.25 to 2.3 mm (10 to 90 mils) Input Voltage -17.5 to -26V DC (from Proximitor) Temperature Range -35°C to 177°C (probe tip) Tip Material Delrin (case) / PVDF (tip) for case grounded applications Thread Size 3/8-24 UNF Unthreaded Length 0 mm (full thread) Case Style Standard duty, stainless steel Approvals ATEX, CSA, IECEx (when used with approved Proximitor) Product Introduction Vibration monitoring on a steam turbine: you’re getting high 1X amplitude, but the phase is all over the place. Classic sign of a bad probe or cable. The BENTLY 135462-01 is the 8mm probe end of the 3300 XL system—the part that actually looks at the shaft. It’s the same gold standard Bently has used for decades on compressors, turbines, and pumps. The 5-meter integral cable means no field splicing, which eliminates one potential failure point. But it also means you’re replacing the whole assembly if the cable gets pinched during installation. The 135462-01 runs on the -24V DC system, outputting a voltage proportional to the gap between probe tip and shaft. You’re looking for about -9 to -11V DC at the nominal gap. Anything outside that range during static condition, and your dynamic measurements will be clipped. The probe tip is Delrin, so it’s non-conductive—important if your shaft is case-grounded. That prevents ground loops that would swamp your vibration signal with electrical noise. Just don’t scratch the tip during installation. Even a small nick changes the calibration. Installation & Configuration Guide Phase 1: Pre-Installation Confirm the machine is shut down and the shaft is static. Lock out the driver. You’re working in close quarters near bearings, so tag out everything. Gather tools: 3/4-inch open-end wrench for the probe body, thread gauge (3/8-24), and a DC voltmeter. You’ll also need the special Bently probe installation tool if you’re working in a tight spot—otherwise, fingers work but watch the cable. Phase 2: Removal Unscrew the old probe counter-clockwise. Count the turns as it comes out. That gives you the approximate depth for the new one. If the old probe was bottomed out or loose, ignore that count—it’s useless. Inspect the mounting hole threads. Cross-threading is common when people rush. Run a 3/8-24 tap through if needed. Clean out any old threadlocker or debris. If debris falls into the bearing housing, you’ve got bigger problems. Phase 3: Installation Hand-thread the BENTLY 135462-01 into the mounting hole until the tip is flush with the inside of the housing. Then screw it in further by the calculated amount to achieve the proper gap. General rule for 8mm probes: 1 turn = 1.27 mm (50 mils) of axial movement. You want a static gap around 1.27 mm (50 mils), which gives you about -10V DC output. Tighten the locknut to 10-15 ft-lb. Route the cable away from high-voltage lines and sharp edges. Use Ty-wraps loosely—cable crushed by a tight wrap changes capacitance and kills your signal. Phase 4: Power-On & Testing Connect the 135462-01 to the Proximitor (usually mounted remotely in a junction box). Apply -24V DC. Measure the DC gap voltage at the Proximitor output. Adjust if necessary—but you can’t adjust the probe position now without shutting down again. Rotate the shaft manually if possible; watch the voltage change smoothly. No jumps or dropouts. Finally, run a shaft orbit or timebase plot at turning gear speed. Clean sine wave? Good. Distorted? Check for mechanical rub or electrical runout. Frequently Asked Questions (FAQ) Q: What’s the difference between 135462-01 and 135462-02? The suffix indicates cable length. 135462-01 is 5.0 meters. -02 is 7.0 meters. The electrical characteristics are identical, but the longer cable adds capacitance. If your Proximitor is calibrated for a 5m cable and you use a 7m, the sensitivity shifts slightly—about 2-3%. Acceptable for monitoring but not for critical protection circuits without recalibration. Q: Can I use this probe with a 3300/16 monitor? Yes. The 135462-01 is part of the 3300 XL system and works with any 3300 series monitor that expects a -24V DC Proximitor input. That includes 3300/16, 3300/20, 3300/40, and 3500 series monitors with the appropriate I/O modules. Just verify your Proximitor model matches the probe cable length. Q: The gap voltage reads -4V DC with the shaft at rest. What’s wrong? Either the probe tip is too far from the shaft or the Proximitor is bad. -4V indicates a large gap—beyond the linear range. You’ll get noisy or clipped vibration data. Shut down and adjust the probe position inward. If the voltage doesn’t change when you move the probe, the Proximitor may be dead. Check continuity from probe to Proximitor first. Q: How do I verify the probe is the problem and not the cable or Proximitor? Swap method. Replace the suspect probe with a known good one temporarily. If readings normalize, the original BENTLY 135462-01 is bad. If not, move downstream. Also, check DC resistance from probe tip to ground—should be open circuit. If you see low resistance, the probe tip is shorted to case. That probe is scrap. Q: What’s the shelf life of a new surplus 135462-01? Indefinite, as long as it’s stored in a clean, dry environment. The Delrin tip doesn’t degrade. The cable jacket (FEP) is inert. However, the internal coil can drift over decades if exposed to temperature extremes. We test each unit before shipping—DC gap voltage and dynamic response on a spin rig. If it passes, it’s good. Q: Can I install this probe in a hydrogen-cooled generator? Check the certification. The 135462-01 probe tip is Delrin, which is compatible with most atmospheres. But for hydrogen service, you need the ATEX or CSA-approved version with proper seals. Verify the nameplate shows the appropriate approval for your hazardous area classification. If not, source the certified variant. No shortcuts here. 1C31125G03 PLC EMERSON 1C31129G01 PLC 1C31129G02 PLC EMERSON 1C31129G04 EMERSON 1C31142G01 plc 1C31147G02 1C31150G01 EMERSON Email: [email protected] Phone: 86 15340683922 Sales:Wu Jiedong Our products are guaranteed for 1 year, with new and original production stopped and imported spare parts. All prices listed on the official website are subject to confirmation by contact: Wu Jiedong (manager). Our product: brand new original packaging Our warranty: All new or repaired parts have a 12 month warranty period beginning Our payment: 100% telegraphic transfer of inventory items before shipment, conditions can be proposed! If you have any downtime spare parts that you cannot find, please feel free to call or use email to contact me. If there are issues that the product cannot solve, please contact me. Product prices can be negotiated. Please do not consider contacting me!